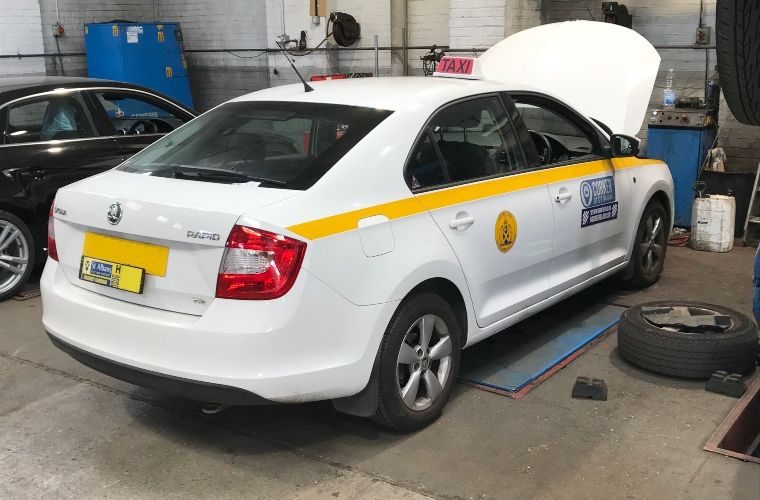
REPXPERT, Alistair Mason, replaced the clutch on a Skoda Rapid 1.6 TDI.
The vehicle had covered more than 110,000 miles, and the clutch had reached the end of its service life, with the clutch starting to ‘slip’.
With a book time of five hours and only basic workshop required, this is a great repair for any independent workshop. Full repair instructions can be obtained from REPXPERT, Schaeffler’s workshop information portal, while quick reference information can be found on Schaeffler’s REPXPERT app.
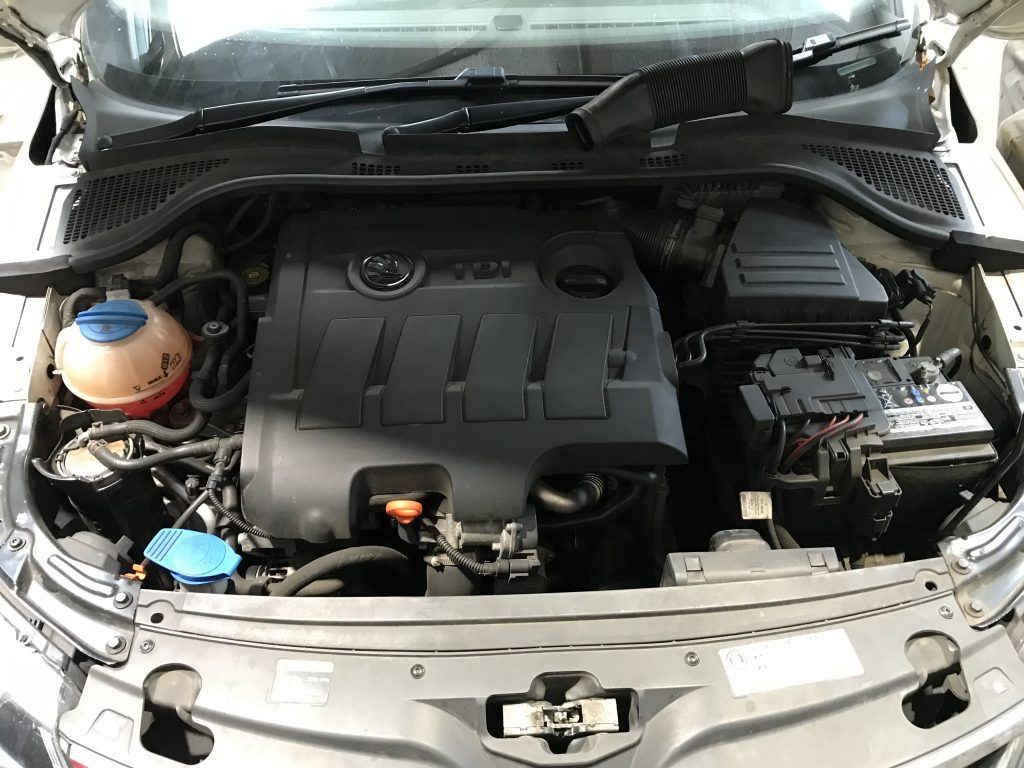
Gearbox removal
With the vehicle positioned on a vehicle lift – either a two-post or wheel-free is ideal – open the bonnet (Fig 1), disconnect the air mass meter and then remove the air filter assembly.
Next, remove the solenoid and vacuum pipes and stow them in a safe area (fig 2), before detaching the battery and battery carrier assemblies. This now gives good access to the top of the gearbox.
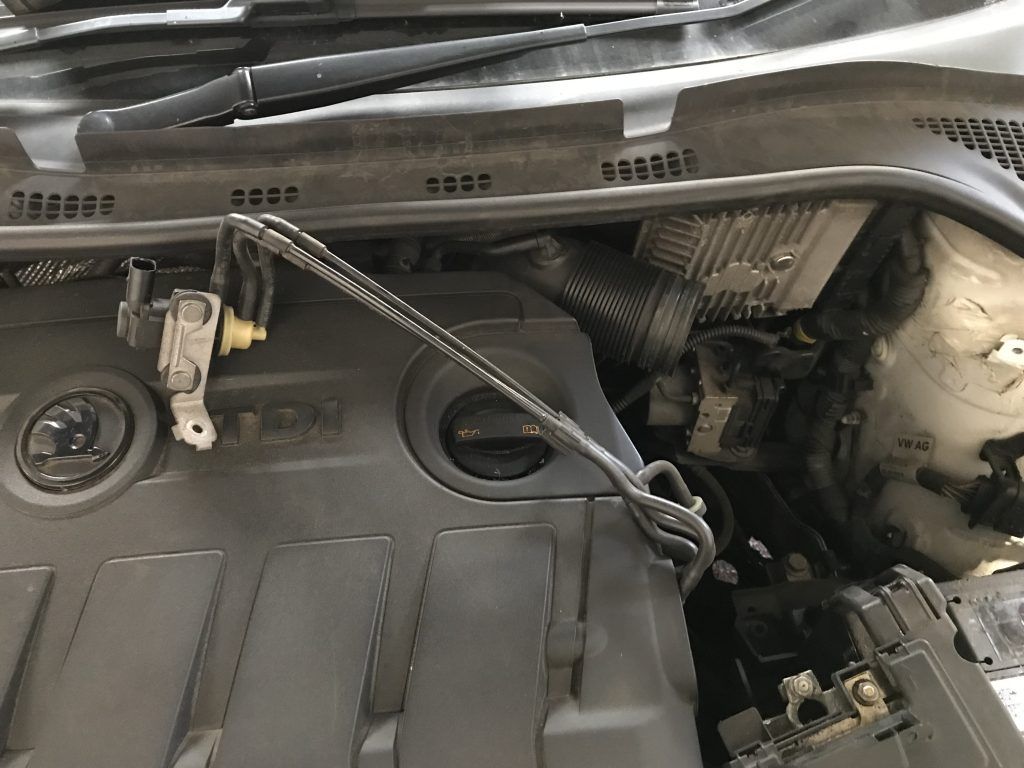
Detach the gear change cables and stow them in the bulkhead area.
Remove the weight from the selector assembly (Fig 3), as well as the clutch slave cylinder from the gearbox, but do not disconnect the hydraulic pipe! Remove the starter motor wiring and undo the top bolt then the upper bell housing bolts.
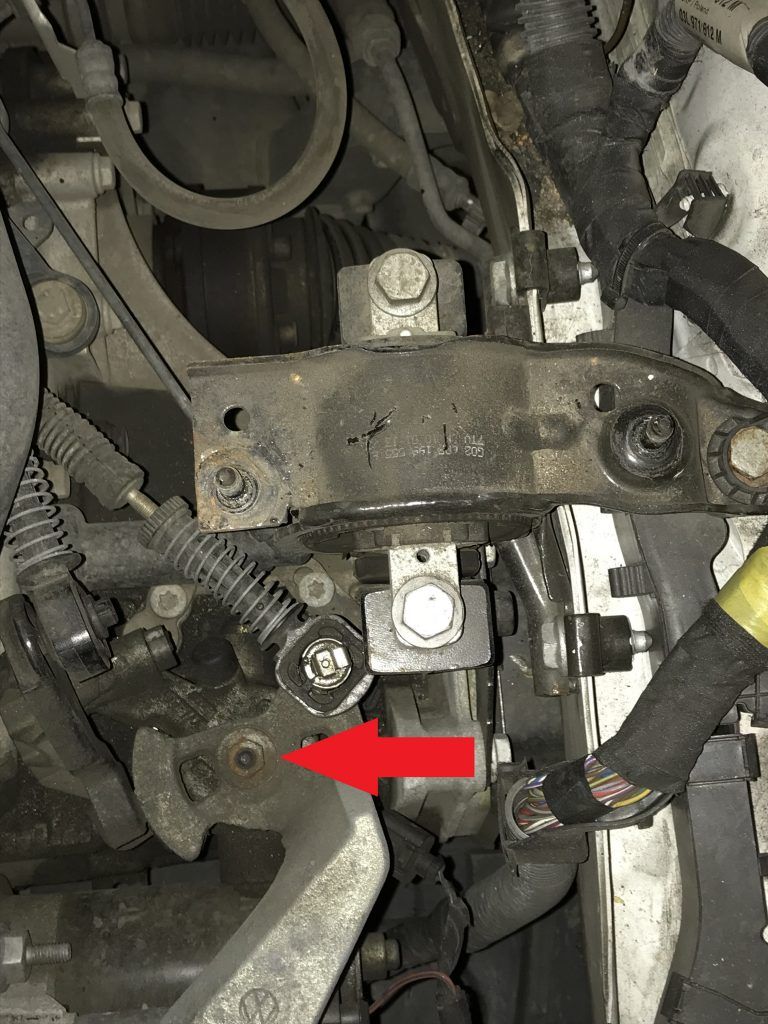
Raise the vehicle lift to gain access to the underside and remove the undertray.
Next, lower the lift to waist height, before removing the N/S/F wheel and arch liner.
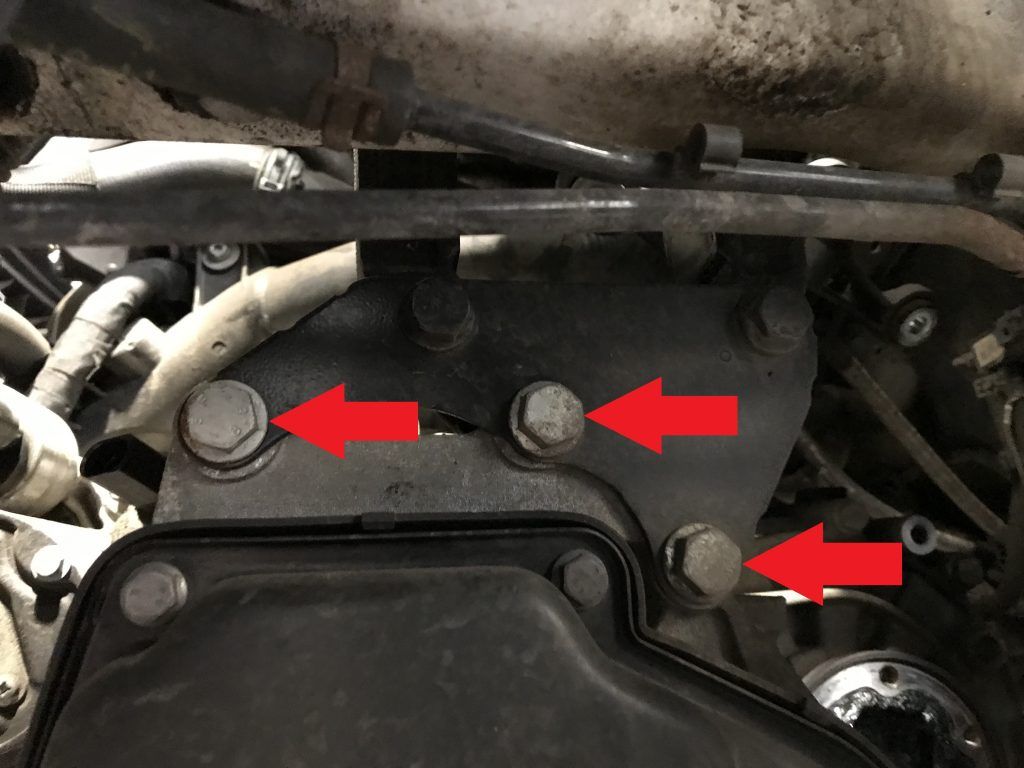
Then, unbolt the N/S/F inner driveshaft flange from the gearbox, removing the three N/S/F bottom ball joint nuts (Fig 4), before disconnecting the N/S hub assembly from the bottom arm.
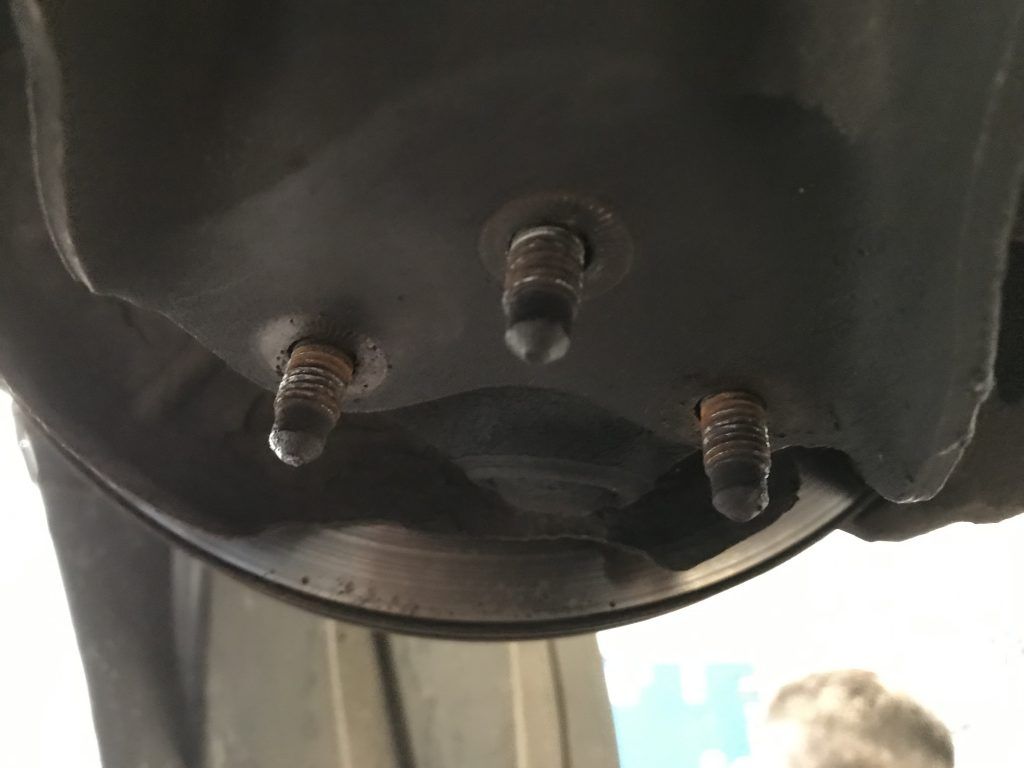
Pull the hub assembly outwards, then, when the driveshaft is free, it will hang and give enough clearance to remove the gearbox.
Disconnect the O/S driveshaft at the gearbox flange and push the driveshaft up above the gearbox.
Using an Allen key socket, undo the centre bolt from the O/S drive flange and remove the flange – this will give clearance and aid removal.
Detach the lower gearbox pendulum mount, disconnect the wiring loom from the front of the gearbox and remove the starter motor.
Support the engine using either an engine brace, subframe-mounted support or a prop system under the engine; in this instance, Alistair used a second transmission jack to support the engine.
Detach the top gearbox mounting and then slightly lower the engine to help gearbox removal (Fig 5).
Undo the lower bell housing bolts, leaving one easily accessible bolt to support the gearbox.
Support the gearbox with a transmission jack, undo the final bell housing bolt and then ease the gearbox away from the engine.
Once the gearbox is clear of the clutch, lower the transmission jack and gearbox and remove the gearbox from the vehicle.
Clutch replacement
Remove the old clutch from the flywheel by undoing the six retaining bolts, scrub the clutch dust from the flywheel and back of the engine with clutch and brake dust cleaner.
Inspect the solid flywheel for any heat cracks or damage, before cleaning the surface glaze with Emory cloth.
Attention now turns to the gearbox and release system (Fig 6).

First, remove the release bearing and arm from the gearbox, wash out the clutch dust from the bell housing using clutch and brake dust cleaner, then inspect the following areas closely:
- The bearing guide tube for any wear or oil leaks. If wear or leaks are present, this must be replaced.
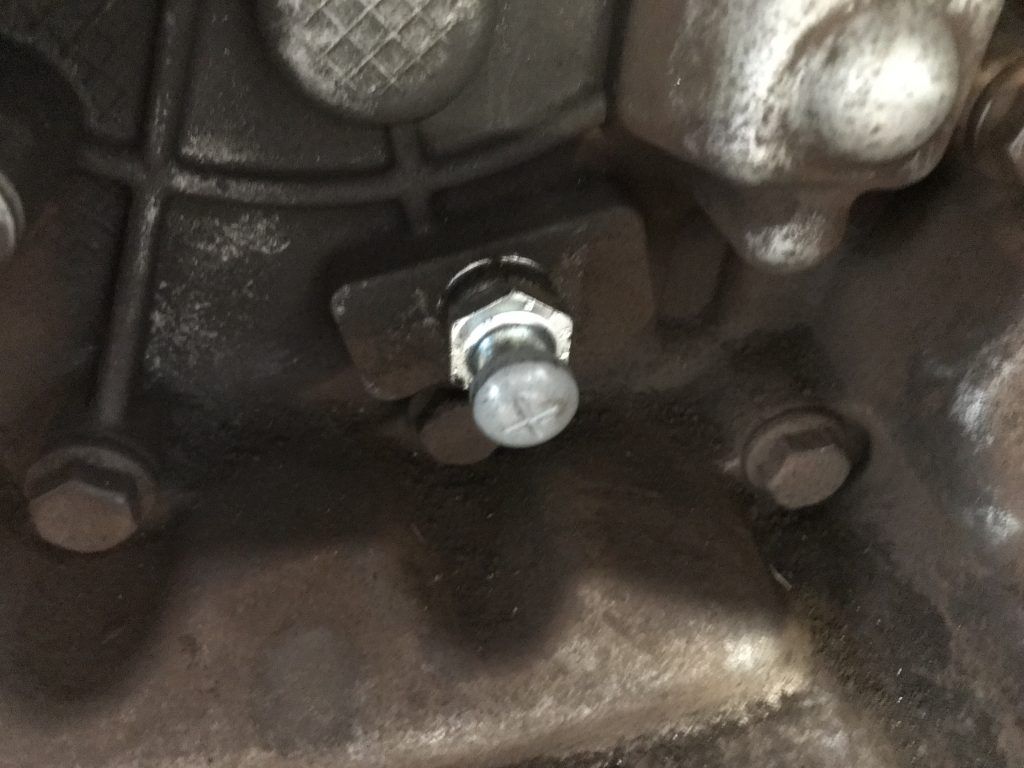
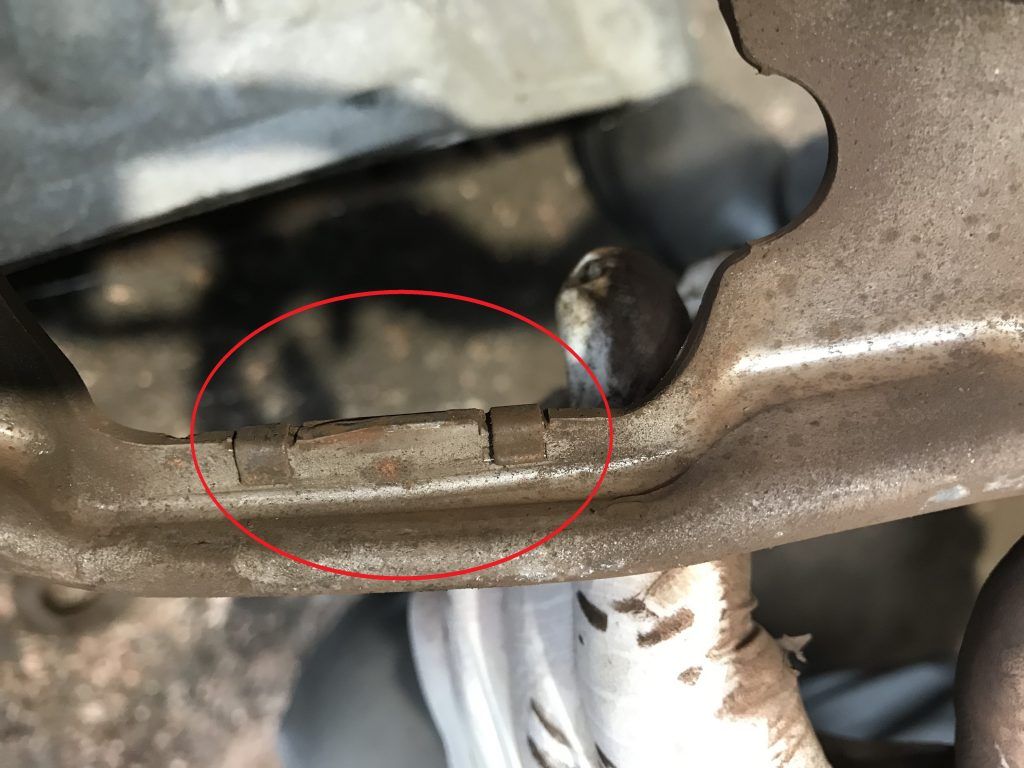
- The release arm pivot point, release bearing mounting points and slave cylinder contact point: if wear is present, replace as required. In this instance, wear was found at the pivot point and release bearing mounting area, so the release arm and pivot point were replaced (Figs 7 and 8).
- Check the contact area on the slave cylinder and the condition of the rubber boot.
- Ensure the gearbox alignment dowels are fitted.
Mount the new components in the bell housing area, then put a light smear of high-melting point grease onto the gearbox input shaft splines.
Next, place the new clutch plate onto them, as this will evenly distribute the grease and also confirm the correct fitment of the clutch plate.
De-grease the face of the new clutch pressure plate, then, using a clutch alignment tool, lift the new clutch onto the flywheel.
Ensure the clutch plate is mounted correctly, indicated by ‘Gearbox side’, then, once mounted on the dowels, insert the bolts, tighten evenly and sequentially and torque to the manufacturer’s specification.
Ensure the release system is fitted correctly, the alignment dowels are installed and all cables and pipes are clear of the bell housing area, ready to refit the gearbox.
Gearbox fitment
Mount the gearbox onto the transmission jack and guide into position.
When close to the engine, align the gearbox then ease it onto the clutch, before finally helping it onto the alignment dowels. Finally, install an easily accessible bolt and tighten.
Refit in reverse order of removal – torque specifications are available on REPXPERT – then reset all electrical consumers after reconnecting the battery. Always carry out a full road test to ensure a quality repair.
Information on Schaeffler products, fitting instructions, labour times and much more can be found on the REPXPERT garage portal, the REPXPERT app, or by calling the Schaeffler REPXPERT hotline on 0872 737 0037.


Home Page › Forums › Skoda Rapid 1.6 TDI clutch replacement