If penetrating lubrication like PB Blaster or blowtorch methods fail to work, the next step is usually a nut splitter or cutting it off with a saw.
It’s a time consuming, costly job and a naked flame can cause irreparable damage to the part and surrounding area.
However, the Mini-Ductor® handheld induction heating tool allows all types of adhesives bonded to metal, fasteners bonded with thread lock compound, and seized hardware to be removed and released much quicker and safer than by traditional naked flame heating.
While torch heat is blown away from the load, wasting its energy and transferring its heat to unwanted areas, nearly all the energy applied by the Mini-Ductor pulled is applied to the load, using invisible heat, making the tool faster and more energy efficient.
The Mini-Ductor® heat resistant coils come in different diameters and lengths to suit different nut sizes and a standard preformed work coil or Bearing Buddy (rope style) flexible, coil is ideal for this application.![]()
Using Standard work coil
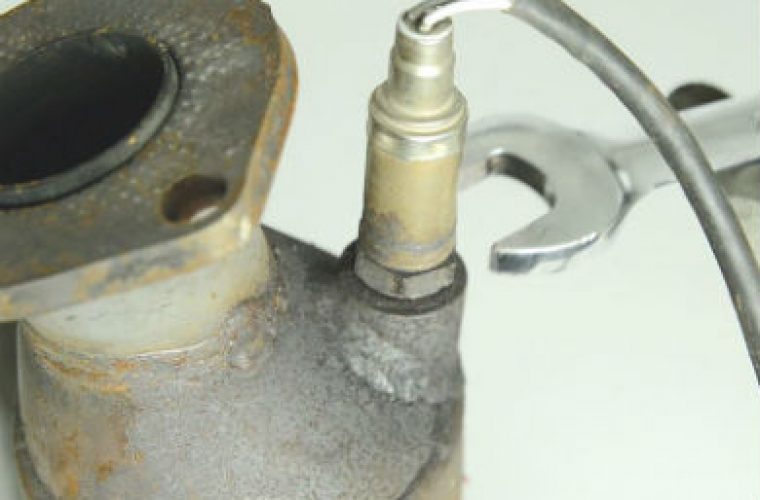
- Select from your coil kit a work coil that will just slightly slide over the sensor and the nut mounting surface on the exhaust pipe, allowing room for expansion when the sensor and nut mounting surface is heated.
- Slide the selected work coil over the sensor/mounting surface and apply induction heat for about ten to twenty seconds.
- Choose appropriate size wrench for the sensor, slide wrench over sensors nut surface and loosen.
Using Bearing Buddy, rope style coil (BBC)
- Attach one end of BBC to your Mini-Ductor (MD) and secure thumb screw. Bring the MD as close as possible to the sensor to be removed allowing some room to manipulate the BBC around the sensor.
- Wrap BBC around sensor/base with at least three turns capturing as much of the mounting surface as possible. Insert opposite end of BBC into the Mini-Ductor and secure thumb screw.
- Apply induction heat for about 10-20 seconds. Slide the coil formation back good enough to make room for the wrench. Slide wrench over sensors nut surface and loosen.
The Mini-Ductor® II + runs off a 240V power source and is also available with 110V CE power.
A new 12V portable version, which runs off a car or portable battery, launches in the UK in September 2015. To find out more, call 01953 859138, email [email protected] or select ‘More Details’ below.


