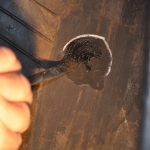
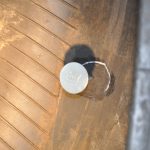
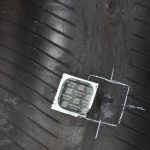
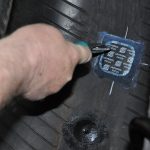
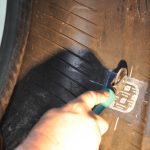
Plugs inserted into the tyre externally are not recognised as being a ‘tyre repair’ and are referred to as a ‘temporary seal’, a means to be able to drive the vehicle at low speed to the nearest tyre repair service centre.
In a press release, REMA TIP TOP said: “The British standard makes it clear – to accomplish a repair the tyre must first be removed from the wheel or rim, then thoroughly inspected from both the inside and out.
“This inspection should root out any secondary damage that may have resulted from either the original penetrating object or from running the tyre in an underinflated state.”![]()
Minor tread area penetrations
A minor penetration repair is referred to as a crown or tread injury with a maximum 6mm for passenger cars, and 10mm for commercial vehicles.
However, REMA TIP TOP warn that a 10mm minor repair is limited to 50 per cent of the nominal section width of the tyre – 25 per cent each side of the tread centre line.
Penetrating rubber on minor repairs are not permitted in sidewall or shoulder areas.
Once the tyre has been thoroughly inspected, the liner is cleaned within the damaged area.
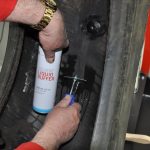
“Normally a liquid buffer or a fast dry buffer is applied to the repair area inside the tyre, then immediately scraped and vacuumed to remove all traces of silicone and other mould lubricants.
“A probe is placed inside the injury to assess the angle of the penetration, maximum 15 degrees off the perpendicular is possible with a Combi unit.
“Above 15 degrees to a maximum angle of up to 25 degrees, a pre cured stem is often used to seal the penetration before the application of a separate rubber only or reinforced patch unit.”![]()
Minicombi repair
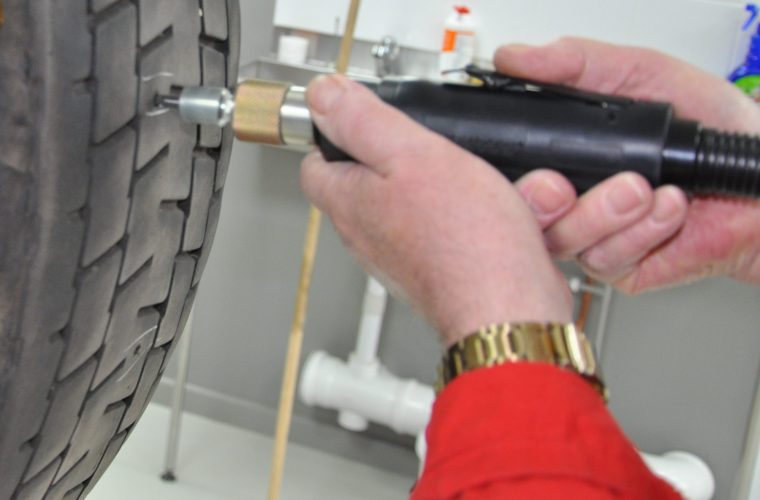
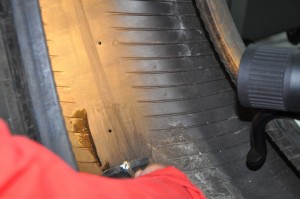
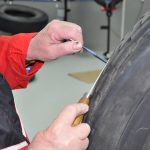
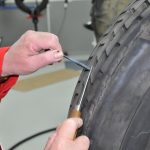
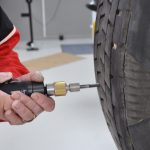
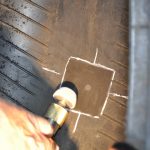
Following the full inspection of the tyre the appropriate rotary mill cutter is used to mill out the injury, starting from the inside the tyre.
![]() The angle of the injury is followed as close as possible, then a reverse cut is performed from the outside of the tyre.
The angle of the injury is followed as close as possible, then a reverse cut is performed from the outside of the tyre.
This reversing of the milling procedure will remove all rust or damage from the injury area leaving it clean and clinical for further repair material to be inserted.
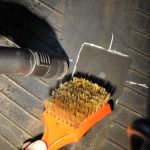
The liner area is now buffed using a low speed encapsulated wire brush – dust should be removed by vacuum.
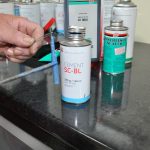
REMA TIP TOP ‘fast dry cement’ is placed inside the penetration and to the buffed liner area inside the tyre.
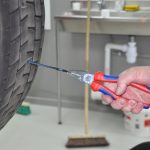
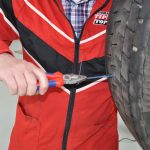
Following the drying time, the Minicombi unit is inserted into the injury from inside, then pulled into position externally with the use of pliers.
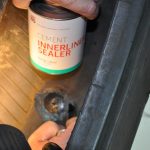
The combi patch base is now stitched from the centre working outwards, before the application of a thick coat of REMA TIP TOP ‘inner liner sealer’.
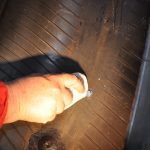
The tyre should be returned to the rim and inflated to its normal working pressure before cutting the remaining Minicombi stem flush to the tread surface, however do not pull or stretch the stem during this procedure.
 Two stage Rema stem repairing
If using a Rema Stem repair system, follow the same milling procedure starting from the inside, then reverse the cut by milling also from the outside of the tyre.
At this stage all debris should be removed from the tyre by vacuum, before applying REMA TIP TOP Blue Cement into the puncture channel.
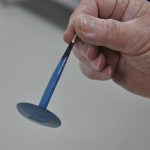
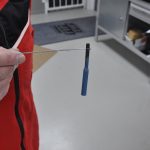
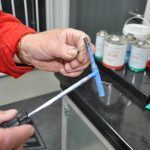
Allow no drying time, place the Rema Stem unit into the wire pulling tool, and cement the whole stem unit with the blue cement.
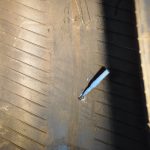
Thread it through the injury, remove the wire pulling tool and pull the stem into position with pliers, leaving four to five mm of stem inside the tyre.
After wiping away remains of cement with a clean cloth, buff the stem until it meets the liner level.
Place an appropriate patch unit centre over the injury, and mark the area to be buffed.
Buff the area either with an encapsulated wire brush or a dome rasp if repairing a truck tyre.
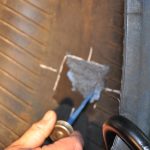
Use a brass brush and vacuum to clean the buffed area and remove all buffing debris from the tyre.
Apply REMA TIP TOP Cement Blue to the buffed liner area, allow time for drying before applying the UP patch repair unit.
Stitch from the centre working outwards, then finally stitch the patch border area.
Apply REMA TIP TOP Inner Liner Sealer to the border area and over buffed area inside the tyre.
Cut the outer stem flush with the surface of the tread without stretching it.
For more information about REMA TIP TOP and to view its range of automotive products, click ‘more details’ below.

