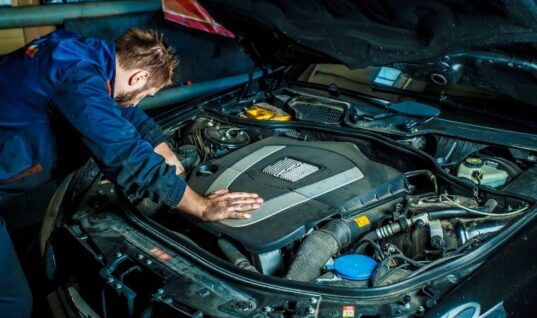
Separating the good from the bad, Sogefi believe that filters are the hidden heroes which keep passenger vehicle engines running and their drivers comfortable.![]()
Oil filters
Depending on the vehicle usage and the condition of the emptied oil, feel free to recommend more frequent oil changes to the customer.
- Always use suitable tools for the type of filter
- Where there is a seamed cartridge, clean the gasket contact surfaces and oil the gasket on the cartridge
- Take care not to crush or twist any O-rings
- Observe the tightening torques (manual tightening on seamed cartridges) and the specific precautions
- Always keep a clean cloth close at hand to collect/dry any excess oil

Air filters
An air filter cannot be cleaned, it must be replaced. This is because the use of compressed air makes the filter more porous, permanently compromising its ability to filter effectively.
- Use a vacuum to suck up any residue in the filter housing
- Using a damp cloth, clean the inside of the housing
- Ensure that the new filter is the same as the one being replaced, and that it is perfectly sealed at the edges
- Don’t forget to reconnect any hoses or ducts disconnected previously, for easier filter replacement
Fuel filters: diesel
More than for any other filter, replacing a diesel filter requires a clean, dust-free environment.
- Locate all the hoses and connections
- When there has been heating caused by a fluid, watch out for hot coolant leaks
- Clean the housing with a clean, lint-free cloth
- Systematically replace the gaskets and tighten to the torque indicated by the manufacturer
- Connect the hoses well and allow the engine to run for a few minutes in order to ensure that there are no leaks
- Prime the pump and remove air from the system

Cabin air filters
The use of an anti-bacterial product on the filter and in the ducts improves comfort for the vehicle’s occupants.
- Identify the position of the filter(s) and ensure that you thoroughly understand the disassembly/assembly procedure
- Use a vacuum and a damp cloth to remove any residue in the system. If necessary use an anti-bacterial spray
- Ensure that the new filter is the same as the one being replaced, and that it is perfectly sealed in its housing
- After replacement operate the ventilation/climate control system for a few minutes in order to ensure that there are no noises or leaks
For more information about Sogefi Group, follow the ‘More Details’ link below.


